(Originally posted on Teaching the Codex)
Manuscripts Under Lockdown 2:
Sara Charles is a PhD student at the Institute of English Studies, University of London. Her research focuses on medieval martyrologies from the tenth to the thirteenth centuries. She also conducts personal research into the production of manuscripts, exploring parchment making, ink making and illumination. She shares her findings on her website and also on Twitter.
This is a reflection of the process of making parchment. For the step-by-step instructions, please go to Sara’s website.
As a researcher of medieval manuscripts, I am very interested in the actual process of making manuscripts. Since attending Patricia Lovett’s illumination class several years ago, I have become increasingly immersed in creating manuscripts traditionally – cutting quills, making iron gall ink, making gesso and painting medieval miniatures. For a while I have been thinking about a long-term project, where I create my own medieval psalter: ruling the folios, writing the psalms out, adding the penflourished initials and illumination; followed by sewing the quires together and attaching them to wooden boards. I was going to use the wonderfully-prepared vellum from William Cowley, but then a niggling idea took hold – could I also prepare the parchment myself?
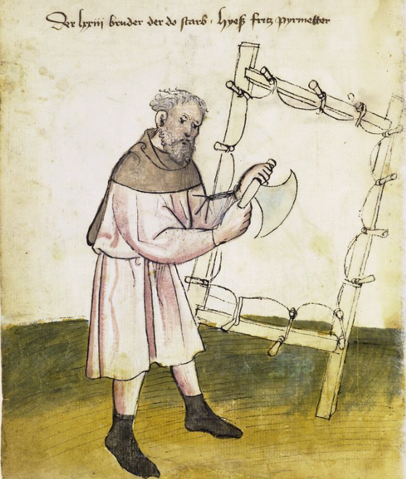
For a long time, I have wondered about the process of parchment making. I’ve never managed a trip to the elusive William Cowley parchmenters myself, and while there are great videos online, I decided this was an excellent time to have a go myself. Despite being well-versed in the theory of the process, I really wanted to know how it actually felt to be thoroughly immersed in the process – what does it feel like and look like? How much tension do I need to stretch the skin? Does it smell awful? Would I finally be able to tell the difference between the hair side and flesh side?! Although this was going to be a learning experience for me, I decided to record a video diary of the process, so that I could share the experience with others, and hopefully they could learn something too!
I had a small rectangular parchment frame made – four lengths of wood attached together with halving joints, and holes drilled around the frame to hold the parchment. Then I found a leather company that sold rawhide, so I ordered some small pieces of goatskin. Rawhide is skin that has already been de-haired and dried, so the really messy business has already been done. Considering that I am doing this in my small suburban garden, recently flayed animal skin didn’t seem a great idea! The dried goatskin just needed rehydrating for a few hours in a bucket of warm water – in which time it started to release a (not-unpleasant) animal smell.
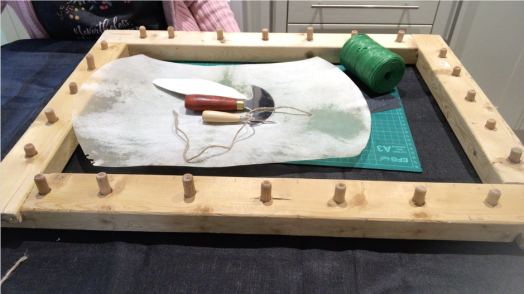
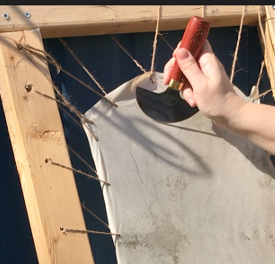
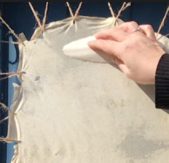
It was not as slimy as I thought it was going to be, but incredibly tough. The wet skin was much easier to handle than the dry skin, and it felt very relaxing to use the lunellum to scrape off the excess hair or flesh once I got into a rhythm. Even after drying for just one day, it gave off a very satisfying drumbeat when struck, assuring me that the tension was adequate! Sanding down with the cuttlefish and sandpaper was also very relaxing process, the circular motions really helping to create a zen-like calm. This is such a tactile part of the process, when you are constantly in touch with the surface of the skin, feeling for rough patches or irregularities that need to be smoothed out. And the difference in the two sides was noticeable – the hair side was so beautifully smooth that my hand could just glide over it with no resistance, while the flesh had more of a suede texture.
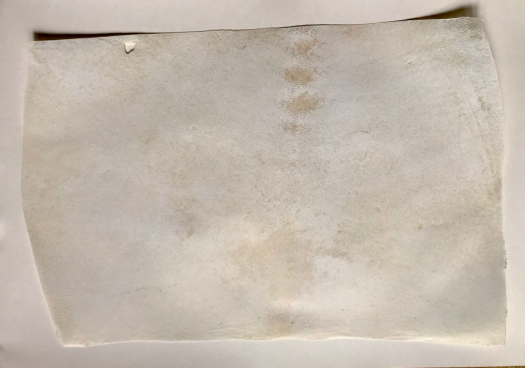
As well as the smell of the goatskin, the marks on the surface served as a constant reminder of the living being it once was. The spine was clearly visible, as were the veins, and I got to know all the details of this piece of skin over a few weeks. I think it’s impossible to work so closely with a material such as this and not appreciate that this was once a live animal, grazing in a field, and even more impossible not to marvel at the sheer scale of resources and effort it would have taken to produce enough folios for a manuscript.
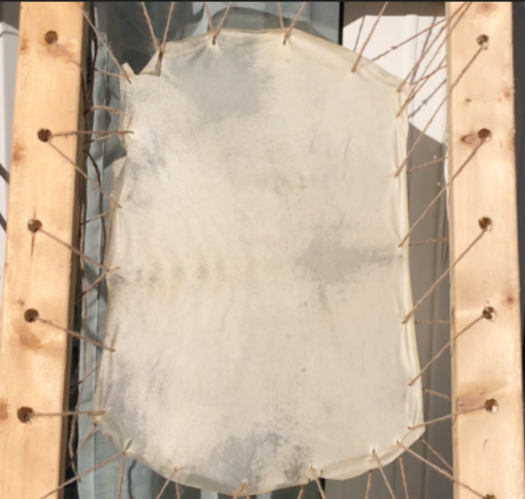
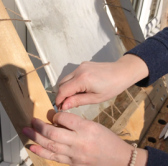
The constant restretching did get a bit tedious – especially as my string broke quite often, or the string would rip through the rawhide. However, every mistake was something to learn from, and nothing ended in ruinous disaster. String could be re-tied, new holes could be pierced. Even the lunellum going through the skin and making a hole wasn’t a catastrophe (fortunately it was towards the outer edge of the skin). And at one point, the skin hadn’t stretched evenly in one area, so I re-wet the whole skin and retightened it, and the next day the wrinkled area was as taut as the rest.
Considering I didn’t really know what I was doing, I was very pleased with the end result. But more than that, the physical process of working with the skin and of being in constant contact with natural materials really is a reward in itself. Using wood, cuttlefish, pumice and animal skin and applying them all to refine something into a durable object that can be used to retain words for a thousand years or more brings an immense joy. I don’t care if it’s not perfect, I don’t care that you can still see the spine and various other marks on the skin, I don’t even care that there is a big hole in it – because these are the marks of where it came from and how it was made into parchment.
I feel much more confident talking about manuscript production when I have experienced it personally. By trying these things at home for myself, I hope to show those interested in manuscripts that these materials are accessible today, and that by familiarising yourself with these products, it can inform your own research. I often feel that there is a bit of a barrier between the present and the past when handling manuscripts, as we are not used to these materials in everyday life, so by a little experimentation home, it can make handling manuscripts a little less daunting!
Sara Charles, Institute of English Studies, University of London


